A Realistic Decluttering Schedule for Busy Homes
That packed closet, crowded kitchen counter, or mystery pile by the front door did not appear because you failed at organizing. Most clutter builds up in the small gaps between busy days. A realistic decluttering schedule gives those decisions a place to go without turning your weekend into a full-house overhaul.
The goal is not to own as little as possible or make every shelf look photo-ready. It is to make the rooms you use every day easier to live in. You should be able to find the charger, put groceries away, get dressed, and open a cabinet without shifting five unrelated things first.
Start With a Decluttering Schedule You Can Keep
A schedule only works when it fits your actual energy and calendar. If your evenings are packed, set aside 15 to 20 minutes after dinner. If Saturday mornings are your best window, use one 45-minute block. Consistency matters more than choosing the perfect time.
Before you begin, gather a trash bag, a donation bag or box, and a small bin for items that belong elsewhere. That is enough for most sessions. Avoid buying storage products before you declutter. Containers can make a space look tidier, but they do not solve the problem of too much stuff or items that have no assigned home.
Use a simple rule while sorting: keep what you use, need, or truly enjoy. Donate items in good condition that no longer fit your life. Toss anything broken, expired, stained beyond saving, or missing essential parts. If you are unsure about something, give it a temporary holding spot and revisit it after 30 days. This is especially helpful with sentimental items, hobby supplies, and clothes that involve more emotion than a kitchen spatula.
A 7-Day Decluttering Schedule for One Week
This plan focuses on high-friction areas first. Those are the places that slow you down every day, even if they are not the most dramatic-looking rooms in the house. Each task can be done in about 20 to 45 minutes, depending on the size of your home.
Day 1: Clear the Entryway Drop Zone
Start where clutter enters. Sort shoes, coats, bags, mail, receipts, and random items that landed near the door. Throw away obvious paper clutter and move items that belong in another room into your relocation bin.
Keep only the shoes, outerwear, and bags currently in regular use nearby. If your household needs a landing zone, create one with a hook for bags, a tray for keys, and a basket for shoes. The best entryway system is usually a small one. A large catch-all surface often becomes a larger pile.
Day 2: Reset Kitchen Counters and One Drawer
Kitchen counters collect paperwork, small appliances, water bottles, and items that simply have not been put away. Put away anything that has a real home, then question what remains. Appliances you use daily can earn counter space. The waffle maker you use twice a year probably cannot.
Next, choose one drawer, preferably the junk drawer or utensil drawer. Empty it, wipe it down, and return only useful items. Drawer dividers can help after you know what needs to live there, but do not force every tiny item into a complicated system.
Day 3: Edit the Pantry or Food Storage Area
Check expiration dates, duplicates, open packages, and foods your household consistently ignores. Put soon-to-expire foods where you will see them first and donate unopened shelf-stable items you will not use.
Group food in practical categories such as breakfast, snacks, baking, canned goods, and dinner staples. Clear bins are useful for small packets and snacks, while turntables can help deep cabinets. But simple zones are more important than matching containers. If everyone can find and return the granola bars, the system is working.
Day 4: Tackle One Bathroom Cabinet
Bathrooms are small but often crowded with expired medicine, half-used samples, duplicate skincare, and towels that have seen better days. Check medication disposal guidance in your area rather than automatically tossing prescriptions in the trash.
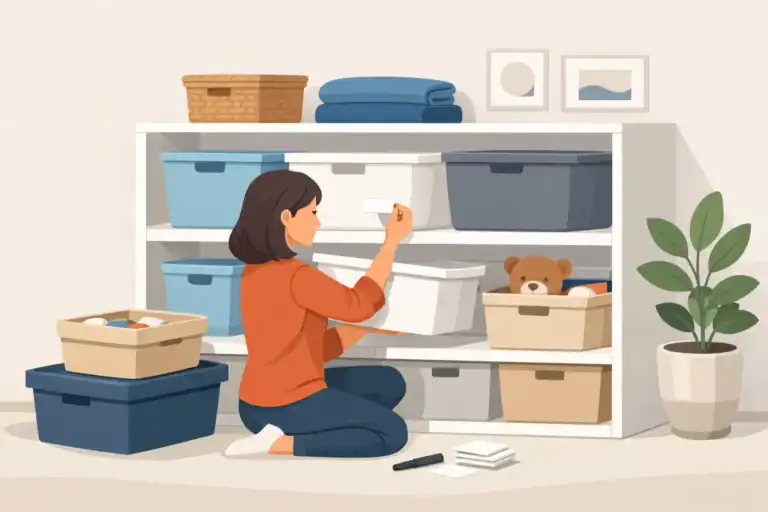
Keep your everyday routine within easy reach. Store backup products together so you can see what you already have before buying more. If several people share a bathroom, labeled bins or divided drawers can prevent one person’s products from taking over the entire vanity.
Day 5: Declutter Clothes You Actually Wear
Do not start by pulling every item from every closet unless you have a large block of time and enough floor space. Instead, choose one category: T-shirts, shoes, jeans, workout clothes, or the clothes hanging closest to the closet door.
Remove what does not fit, feels uncomfortable, needs repair you will not realistically complete, or no longer suits your current routine. Your wardrobe does not need to be minimal. It needs to make getting dressed less frustrating. Keep special-event clothing if you use it, but store it separately from everyday pieces so it is not competing for prime space.
Day 6: Sort Paper and Cords
Paper clutter can feel endless because it often includes decisions you postponed. Separate it into recycle, shred, action, and file. Handle bills, school forms, and appointment notices right away when possible. For papers you must keep, use one clearly labeled file box or small filing area rather than several scattered stacks.
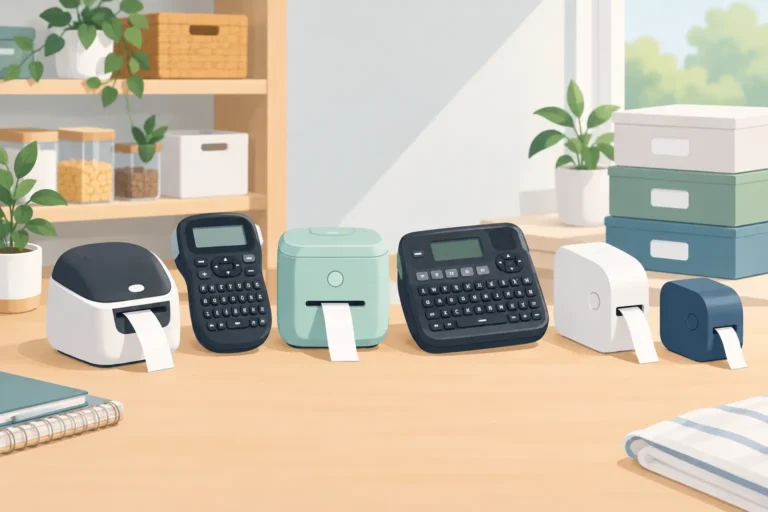
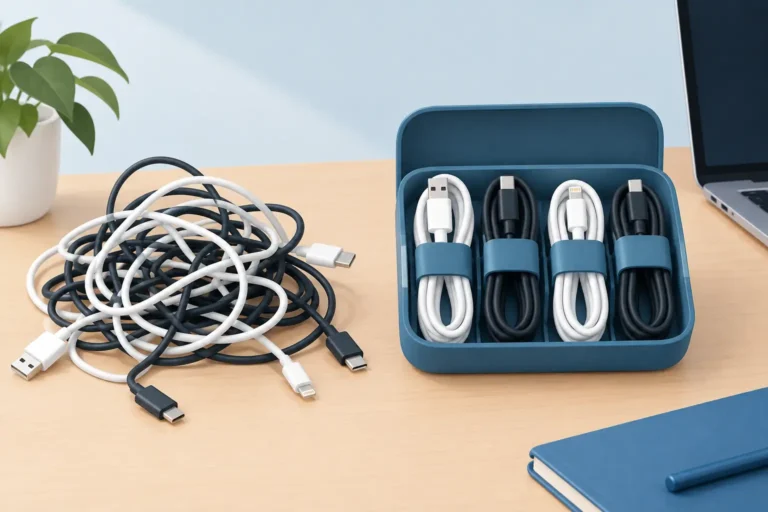
Then gather loose cords and chargers. Test unknown cords before saving them, and recycle electronics responsibly when they no longer work. Label the cords you keep and contain them in a small box, zip pouch, or drawer bin. This is a minor project that can make a home office, living room, or bedside table feel noticeably calmer.
Day 7: Finish the Room That Bothers You Most
Use the final day for the spot you avoid: the laundry room shelf, garage workbench, under-bed storage, overflowing linen closet, or home office corner. Choose one defined zone rather than an entire room.
Ask what makes this area hard to use. A garage may need vertical storage for tools. A laundry room may need one shelf for cleaning supplies and a basket for lost socks. A home office may need a better paper workflow, not more desk accessories. Solve the daily problem first, then consider whether a shelf riser, hooks, bins, or drawer organizers would make the new setup easier to maintain.
What to Do When You Miss a Day
Missing a session does not mean the plan failed. Move that task to your next available day, or cut the task in half. For example, instead of decluttering the whole pantry, clear one shelf. Instead of sorting all clothing, do shoes only.
Avoid the all-or-nothing trap. A 10-minute reset is still useful, especially in a small apartment or a family home where clutter returns quickly. The point of a decluttering schedule is to reduce the mental load of deciding where to start.
Keep Clutter From Rebuilding
Once the first week is done, use a light maintenance rhythm. Take five minutes most evenings to reset the kitchen and entryway. Choose one drawer, shelf, or basket each week for a quick check. At the start of each season, review clothing, pantry extras, bathroom supplies, and anything stored in the garage or under beds.
It also helps to create a donation bag that stays accessible in a closet or laundry room. When something no longer works for your household, put it in the bag immediately instead of returning it to a shelf out of habit. When the bag is full, drop it off.
Be honest about the items that enter your home, too. A new organizer can be useful when it fixes a clear problem, such as deep pantry shelves or tangled cables. It is less useful when it becomes another place to hide items you do not need. Measure your space, decide what will live there, and then buy the storage tool that supports that decision.
A calmer home rarely comes from one dramatic purge. It comes from small, repeatable choices that make it easier to put things away, find what you need, and enjoy the space you already have.