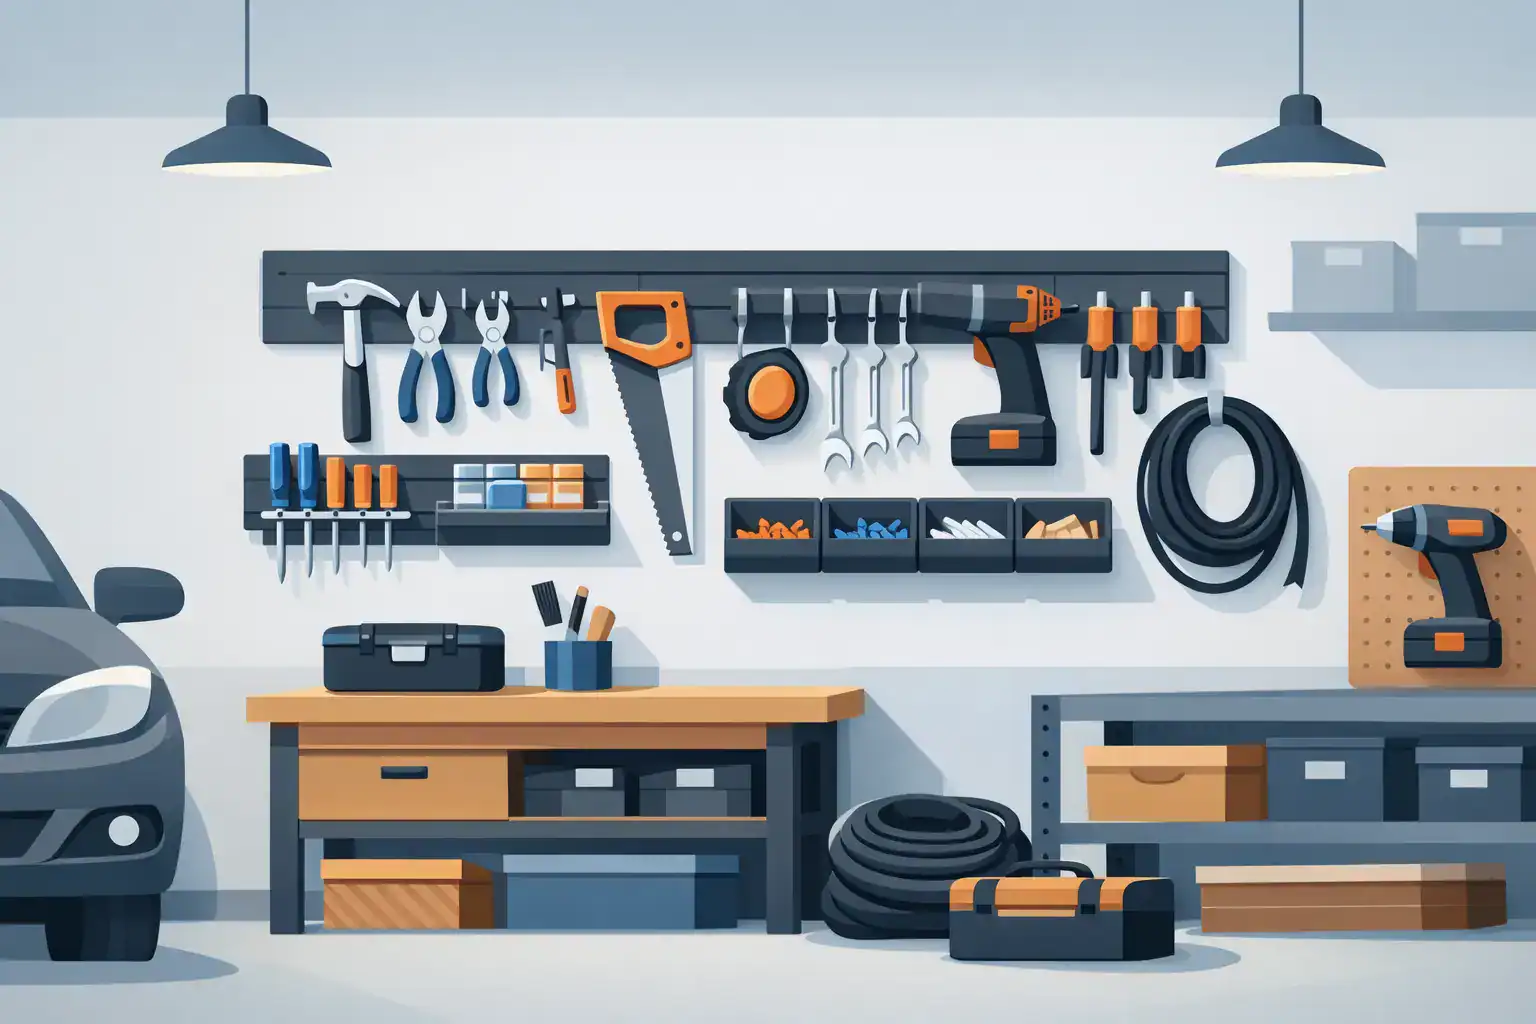
4 Genius Wall Mounted Tool Organizer Ideas for a Clean Garage
A workbench buried under screwdrivers, extension cords, and half-open tool cases is not really a workbench. A wall mounted tool organizer gets those everyday tools off the surface and into view, so a quick repair does not turn into a 20-minute search.
This is one of the most useful upgrades for a garage, shed, basement, utility closet, or compact apartment workspace because it uses the space most people ignore: the wall above the bench. You do not need a showroom-worthy garage or a complete tool collection. You need a system that holds what you actually use, stays secure, and makes cleanup easier after every project.
This post contains affiliate links. As an Amazon Associate, I earn from qualifying purchases at no extra cost to you. See our full disclosure here.
| System | Best For | Shop |
|---|---|---|
| Wall Control Metal Pegboard | Flexible, Lightweight Storage | Check Price |
| INCLY Slatwall Accessories Set | Mixed/Changing Gear | Check Price |
| HORUSDY Rubber-Tip Wall Hooks | Long-Handled Tools | Check Price |
| GREATMEET Locking Wall Cabinet | Dust Protection | Check Price |
Start With the Tools You Reach for Most
Before buying rails, hooks, or a large tool board, pull out the tools currently taking over your workspace. Separate the things you use weekly or monthly from the things you only need for one specific job. Your hammer, tape measure, drill, level, pliers, and a few screwdrivers deserve the easiest spots. The specialty tile saw or bulky automotive tools may be better stored elsewhere until needed.
This quick sort prevents a common organizing mistake: building a detailed wall system around tools that do not earn their space. The goal is not to display every item you own. It is to create a reliable home base for the tools that make everyday repairs and projects less frustrating.
Think about the workflow, too. Put the drill, bits, measuring tools, and fasteners near the main work area. Place long-handled tools such as brooms, rakes, shovels, and mops together toward one side. If you share the garage with bikes, sports gear, or seasonal storage, keep the tool zone contained rather than letting it slowly spread across every available wall.
Choose the Right Wall Mounted Tool Organizer
There is no single best system for every home. The right wall mounted tool organizer depends on the wall material, the weight of your tools, how often your collection changes, and whether you rent or own.
Pegboard works for flexible, lightweight storage
Pegboard is a practical choice for hand tools, small bins, cord holders, and accessories. It is easy to understand at a glance, and you can move hooks when your needs change. That flexibility is especially helpful for beginners who are still figuring out what belongs where.
Traditional hardboard pegboard is affordable, but it needs proper spacing behind it so hooks can fit. Metal and heavy-duty plastic panels tend to hold up better in damp garages and utility rooms. Whichever version you choose, mount it into studs or use hardware rated for the weight you plan to hang. A panel full of drills and metal tools is much heavier than it looks.
Slatwall and track systems handle changing needs
Slatwall panels and wall tracks use compatible hooks, baskets, shelves, and holders that slide into horizontal channels. They are often a better fit for a garage with a mix of bulky equipment, gardening tools, power tools, and cleaning supplies.
The trade-off is cost. A track system can be more expensive than a basic pegboard setup, especially once you add specialty attachments. But it can be worth it if your household has lots of gear and you want to adjust the layout without drilling new holes every time something changes.
Individual hooks are best for long-handled tools
For a narrow shed wall or an awkward strip beside the garage door, sturdy individual hooks may be all you need. Look for rubber-coated, J-shaped, or spring-grip hooks that keep handles from sliding down. Install them at a height that lets you remove tools easily without lifting them over your head.
This option is simple and budget-friendly, but it needs a little planning. Randomly spaced hooks can turn into another cluttered wall fast. Group similar tools together, leave enough clearance for wide shovel heads, and avoid cramming every hook edge to edge.
Cabinets and shelves protect supplies from dust
Open storage is great for visibility, but some tools and supplies need protection. A wall cabinet can keep batteries, drill bits, adhesives, paint supplies, and small hardware cleaner and safer, particularly in a busy family garage. Shallow cabinets are useful because items do not disappear behind several rows of other items.
Use shelves for tool cases, shop vac attachments, and labeled bins. Just be honest about what a shelf can handle. Deep shelves often become a place where duplicate tools, mystery parts, and old project leftovers collect. If you cannot see or reach an item without moving three others, the shelf is probably too deep or too full.
Measure the Wall Before You Shop
A few minutes of measuring can save you from buying an organizer that looks useful online but does not fit your actual space. Measure the width and height of the wall area, then note anything that limits placement: outlets, garage door tracks, light switches, windows, shelving, or a workbench lid that needs room to open.
Also consider clearance. Long-handled tools need floor space beneath them, while a power-tool station may need an outlet nearby for chargers. If the wall is above a bench, leave enough room between the tabletop and the bottom of the organizer to use the surface comfortably.
For renters, check what kind of wall you are working with before committing. Heavy tools should not rely on removable adhesive strips, even if the package claims a high weight limit. A freestanding utility rack, rolling tool cart, or a small wall-mounted rail secured into studs may be a more realistic choice. Ask your landlord about permitted mounting if you are unsure.
Install for Real Weight, Not Best-Case Weight
The organizer itself is only as reliable as the mounting. Find wall studs whenever possible and use screws designed for the wall type and load. In a finished garage, that usually means locating studs behind drywall. In a shed or unfinished garage, you may be mounting directly into exposed framing.
If studs are not in the right location for a wide panel, attach a sturdy horizontal board to multiple studs first, then mount the organizer to that board. This creates a secure mounting surface and gives you more flexibility with placement. It is a small extra step that can prevent sagging panels, stripped anchors, and a very messy fall.
Do not trust the product’s total weight rating without considering the hardware and wall. A rack may be rated for 200 pounds under ideal installation conditions, but drywall anchors, uneven loading, or a damaged wall can lower that capacity. Put the heaviest items closest to the mounting points and avoid hanging heavy power tools on one small hook.
Create Zones That Make Cleanup Automatic
The easiest organization systems have one clear rule: every item should be easy to put back. Arrange your wall in zones instead of scattering tools by size.
A practical setup might place measuring and marking tools together, hand tools in the center, power tools and chargers near an outlet, and hardware in small labeled bins below or beside them. Keep project-specific supplies, such as picture-hanging hardware or bicycle repair tools, in their own container so they do not get mixed into the everyday tool zone.
Use labels where they will actually help. Label bins for batteries, screws, anchors, sanding discs, and spare blades. For a shared household, outlining the shape of a frequently used tool on pegboard can make it obvious where it belongs. You do not need labels on every screwdriver. Too many labels create visual noise and make a simple system feel like homework.
Cord management matters more than people expect. Wrap extension cords on dedicated hooks, use a hose-style holder for thick cords, and keep chargers in one spot. Loose cords are not only annoying to untangle – they take up prime space and make the whole area look more chaotic than it is.
Keep It Useful as Your Tool Collection Changes
A wall organizer is not a one-time project. It should adjust as your household changes. Maybe you start gardening, take on more DIY repairs, buy a cordless tool set, or inherit a box of hand tools from a family member. Leave a little open space so the system can grow without becoming crowded immediately.
Once or twice a year, take five minutes to remove broken tools, dried-up glue, dead batteries, and hardware you no longer recognize. Return stray tools to their spots and notice what keeps landing on the bench. That pile is useful information. It may mean a hook is inconvenient, a bin is too small, or the item needs a different home altogether.
The best tool wall is not the one with the most accessories. It is the one that lets you walk in, find the right tool quickly, finish the job, and clear the workspace without thinking twice.
About The Storage Society
We’re passionate about turning cluttered spaces into calm, functional ones — one room at a time. Every product we recommend is researched for real usefulness, not just trends. Read more on our About page.

2 Comments
Comments are closed.