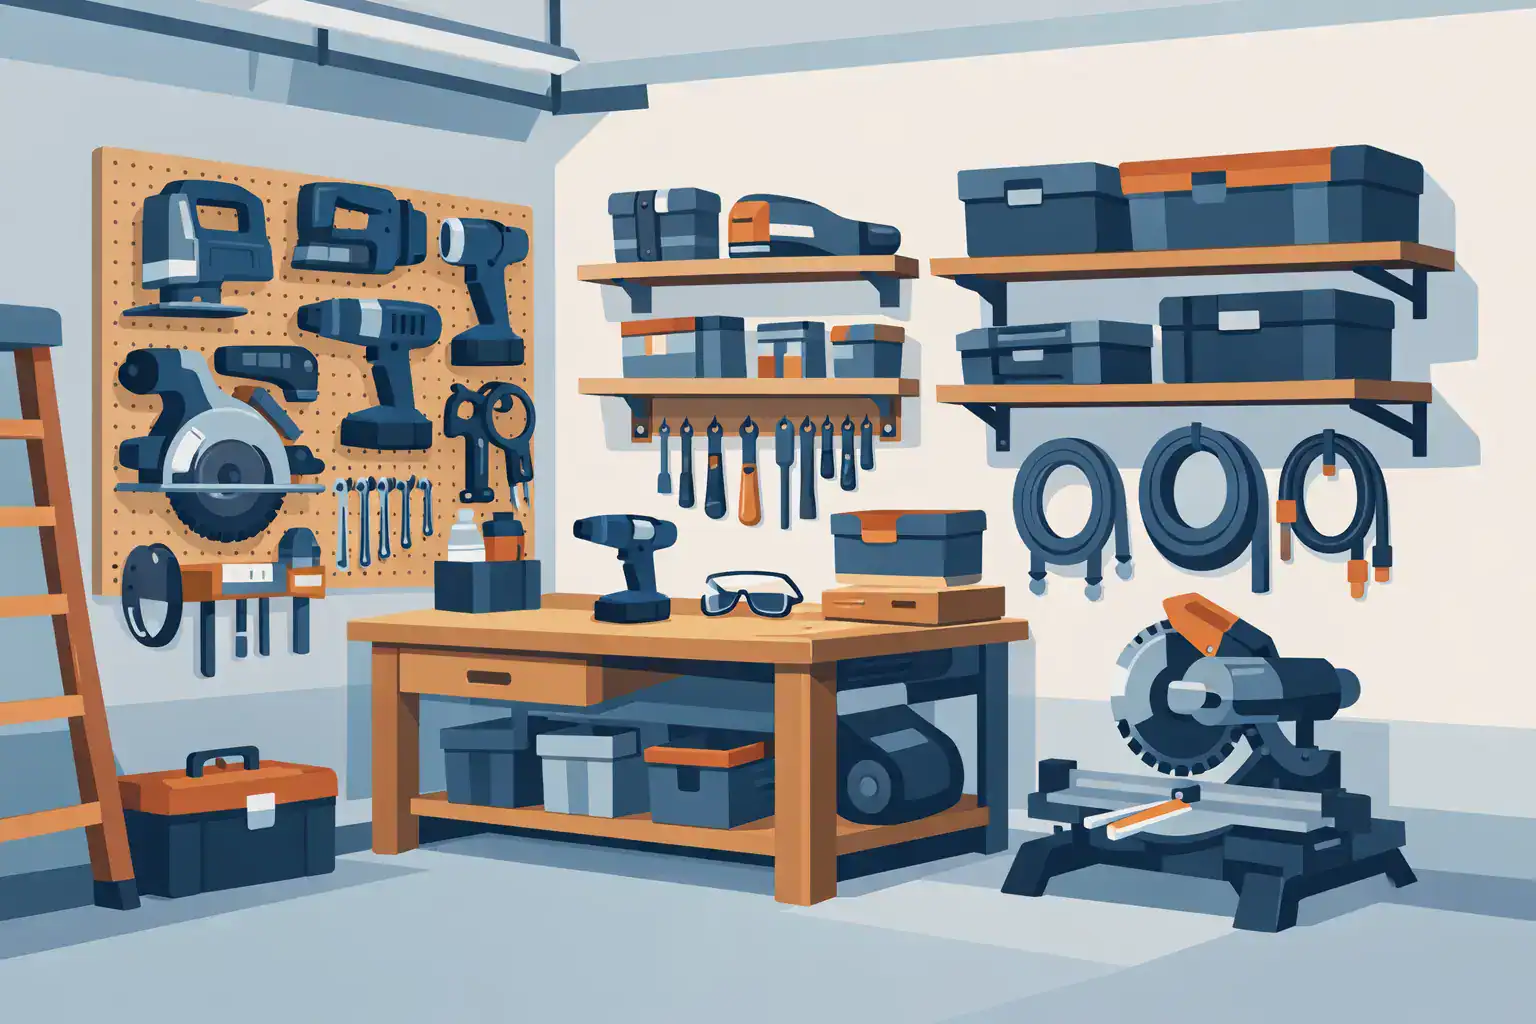
How to Organize Power Tools in a Small Garage: 7 Genius Tips
A drill buried under extension cords is not a storage problem you should have to solve every Saturday. Learning how to organize power tools is less about creating a showroom-worthy garage and more about making the next repair, project, or furniture assembly feel easy to start. A practical system puts the tools you reach for most within arm’s reach, protects expensive equipment, and keeps sharp or heavy items safely out of the way.
The best setup depends on your space and how you work. A homeowner with a full garage can use a wall system and rolling cabinet, while an apartment renter may need a compact tote or a closet shelf. Either way, the goal is the same: every tool gets a dependable home. That’s really what it means to learn how to organize power tools — a system you’ll actually use, not just admire.
This post contains affiliate links. As an Amazon Associate, I earn from qualifying purchases at no extra cost to you. See our full disclosure here.
Start by Sorting Tools Before Buying Storage
It is tempting to buy pegboards, matching bins, and a big tool chest first. Pause there. Storage only works when it matches what you actually own and use. Pull your power tools, batteries, chargers, cords, attachments, and project supplies into one area so you can see the full picture.
Set aside broken tools, duplicate accessories, mystery bits, and chargers for tools you no longer own. Check whether a tool can be repaired before tossing it, and dispose of damaged batteries according to local rules. This quick edit matters because a drawer full of unusable items makes even a good organization system feel chaotic.
Then group what remains by function. Keep drilling and driving tools together, cutting tools together, sanding tools together, and measuring tools nearby. Batteries and chargers deserve their own category because they are small, easy to misplace, and often the one thing that stops a project before it starts.
It also helps to separate tools by frequency of use. Your cordless drill, impact driver, tape measure, and everyday screwdriver set should be easy to grab. The circular saw or specialty sander you use twice a year can live higher up or farther back. Prime storage space should go to the tools that save you time every week.
Choose a Home Base for Your Power Tools
A power tool station can be as simple as one garage wall, one section of a basement shelf, or a rolling cart in a utility closet. What matters is that it is close to where projects happen and has enough room for tools to be returned without a complicated process.
If you have a garage or workshop, claim a dedicated wall near an outlet. This makes it easier to create a charging zone and reduces the chance that tools migrate into kitchen drawers, mudroom shelves, or the trunk of your car. In a small home, a sturdy cabinet, utility closet shelf, or lidded rolling tote can work just as well.
Avoid storing power tools directly on a garage floor. Concrete can hold moisture, and floor-level piles collect dust, pests, and stray paint drips. Raising tools onto shelves, cabinets, or wall hooks keeps them cleaner and easier to find. It also frees up floor space for bikes, cars, and the projects that are already taking over the garage.
Match the Storage Type to the Tool
Different tools need different kinds of homes. Cordless drills and drivers are often easiest to store upright on a shelf, in a shallow drawer, or in a purpose-built wall rack. Their batteries can stay nearby, but do not stack loose batteries where terminals can contact metal objects.
Heavier tools, such as circular saws, reciprocating saws, and grinders, do better on deep, sturdy shelves or in lower cabinet drawers. A labeled bin can contain blades, sanding discs, and spare parts for each tool, so you are not digging through several containers when you need one small accessory.
Bulky corded tools are a good fit for open shelving if you can see the handles and labels. If shelving feels cluttered, use matching lidded bins for less-used tools. Clear bins make contents visible, while opaque bins look calmer and protect tools from dust. Choose based on whether quick visual access or a cleaner-looking storage area matters more to you.
Use Vertical Storage to Clear the Work Surface
Wall storage is one of the easiest ways to organize power tools in a garage, shed, or basement. A pegboard, slatwall panel, or heavy-duty rail system uses empty vertical space while keeping tools visible. Visibility is useful for people who tend to forget what they own once it disappears into a drawer.
A basic pegboard works well for lighter items such as drill bits, safety glasses, measuring tools, hand tools, and small accessories. For heavier power tools, choose hooks and rails rated for the weight, and anchor the system securely into wall studs. Do not hang a heavy saw from a lightweight hook just because it fits. Convenience is not worth a damaged tool or a trip hazard.
Give each frequently used tool a specific outline or labeled hook. You do not need a perfect workshop grid. A small label under each hook is enough to make cleanup straightforward for everyone in the household. If your collection changes often, a flexible rail system may be a better investment than a highly customized board.
Keep a small clear container or magnetic strip near the work area for bits, hex keys, and small fasteners that tend to vanish mid-project. These little pieces create more frustration than the big tools, so containing them is a high-payoff step.
Build a Charging Zone That Does Not Become a Cord Pile
Charging stations are where tool storage often breaks down. Chargers multiply, cords tangle, and batteries end up scattered across the workbench. Create one dedicated charging area near an outlet, preferably on a shelf or wall-mounted station rather than directly on the floor.
Use a power strip with surge protection if appropriate for your chargers, then attach or place it where plugs are easy to reach. Cable clips, hook-and-loop ties, or simple cord labels can keep each charger identifiable. Label the charger by tool brand or battery type if your household uses more than one system.
Store charged batteries in a small divided bin, drawer organizer, or labeled tray beside the chargers. Keep depleted batteries in a separate spot so you always know what needs charging. That simple distinction prevents the frustrating cycle of grabbing a battery that looks ready but has no power.
Check the manufacturer’s guidance for battery storage, especially in very hot garages or freezing sheds. Many lithium-ion batteries last longer when stored in a dry, moderate-temperature location rather than left in extreme conditions. If climate control is not realistic, consider moving batteries indoors while leaving the tools in the garage.
Contain Cords, Cases, and Project Supplies
Loose cords make an organized shelf look messy fast. Coil extension cords loosely and hang them on wide cord holders or heavy hooks. Avoid wrapping them tightly around a tool handle, which can stress the cord over time. Label cords by length if you own several, so you can grab the right one without unspooling all of them.
Keep original tool cases only when they protect a specialty tool, hold essential accessories, or make transport easier. Large empty cases can take up a surprising amount of shelf space. If a case is mostly air, storing the tool in a labeled bin or on a shelf may be the more practical choice.
Project supplies should not crowd out everyday tools. Put wood screws, anchors, nails, glue, sandpaper, and blades in small labeled organizers or stackable bins. A portable organizer with a handle is especially useful if you work in different spots around the house. You can bring the supplies to the project instead of carrying a handful of loose boxes.
Make the System Easy to Maintain
Once you know how to organize power tools, keeping the system going only takes a few minutes a week. The best tool organization system is one you can reset in five minutes. Leave a little empty room on shelves and in drawers. When every inch is packed, putting tools away becomes a puzzle, and clutter returns quickly.
After a project, give tools a quick wipe before storing them. Return batteries to the charging zone, put accessories back in their labeled container, and rewind cords before hanging them. This is not about being perfect after every tiny task. It is about preventing one rushed repair from turning into a month-long pile.
A seasonal check-in is usually enough for most homes. Test chargers, remove worn blades and bits, look for rust or damage, and reconsider which tools deserve the most accessible spots. Your setup should change as your projects change.
How to Organize Power Tools for Good
A calm, useful tool area does not require custom cabinets or a major garage makeover. Start with one shelf, one wall, or one bin, and make it easier to put the drill back than to leave it on the workbench. That small bit of order pays you back every time something at home needs fixing.
About The Storage Society
We’re passionate about turning cluttered spaces into calm, functional ones — one room at a time. Every product we recommend is researched for real usefulness, not just trends. Read more on our About page.

2 Comments
Comments are closed.